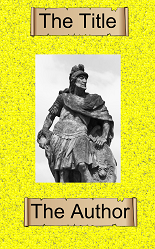
How to Create an eBook Cover with Inkscape
This is a companion piece to How to Create an eBook Cover with GIMP. In this tutorial we'll create the same cover. Since I used layers in the GIMP tutorial, I will also use layers here as well.
If you don't have Inkscape installed, you can download it at http://inkscape.org/download/ and select the installer for your operating system.
When you start Inkscape, it will normally start with a blank document. If not, you can create a new, blank page by selecting File > New > pick default. Don't worry about the size, we’ll
change that later.
To change the size select File > Document Preferences. Set the width to 1563 and height 2500. There is no ok button. Close the window
and the page will be resized.

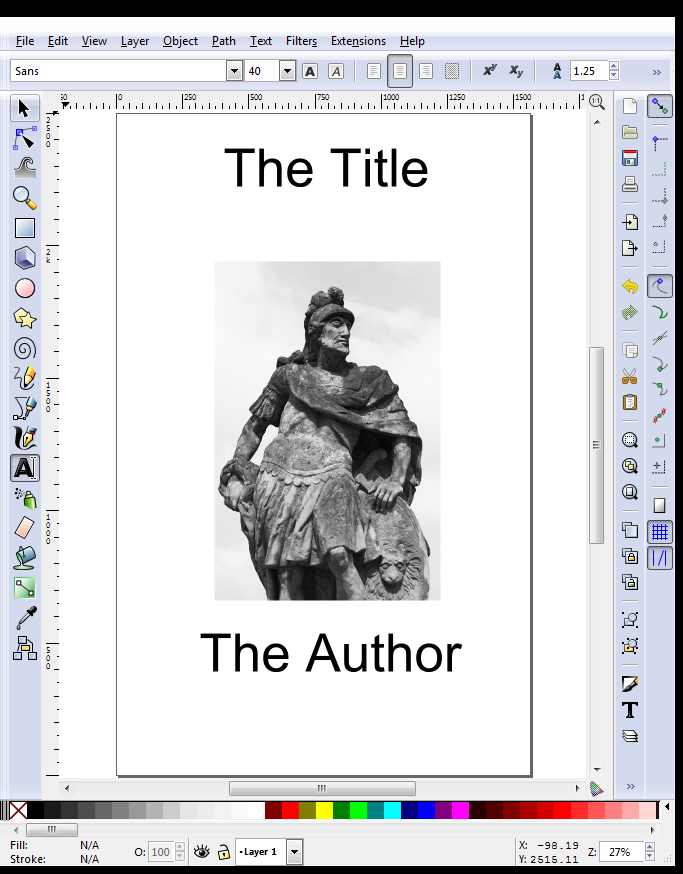
We are going to add a layer to the image. This layer will hold the picture of the statue. Select Layer > Add a Layer. In the window that comes up, enter "Statue" as the Layer Name and set the Position to "Above Current."
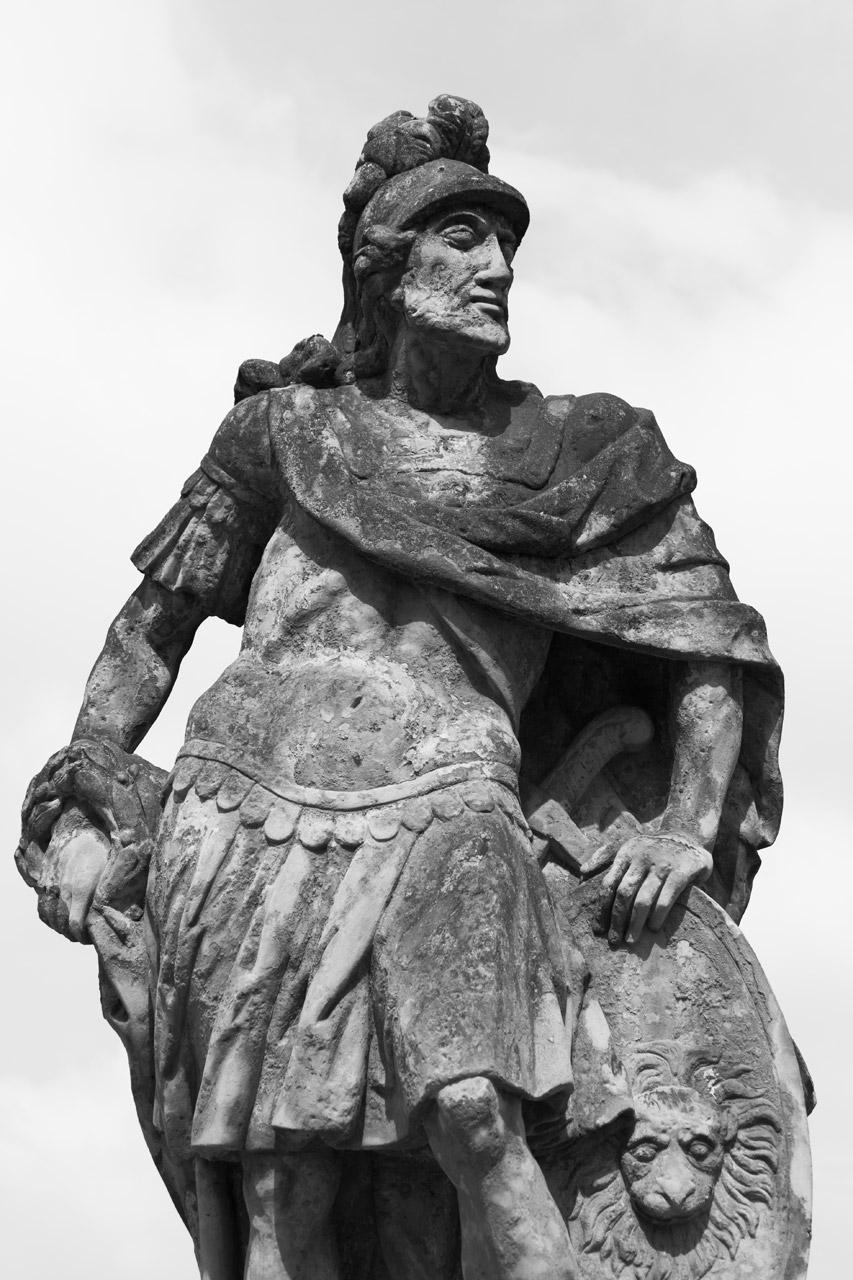
You can download the image of the Statue above for the next part. The statue is going to make up the center of the book cover.
Be sure the statue layer is active,
then import an image. Select File > Import Image, then select the image you want to import. You’ll be asked if you want to link or embed
the image. Linked images are useful if you want to edit the image
separately, but if you are using a stock image you are going to be ok
with embed. When it doubt use embed.
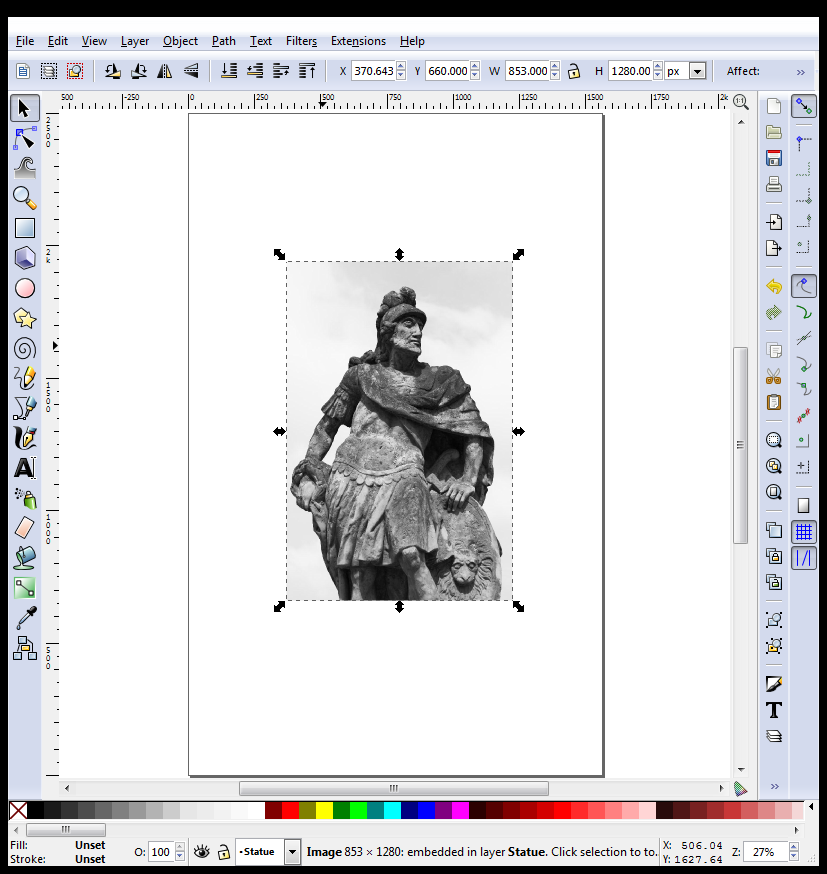
The image will have some dark arrows
around it. When you see those arrows, you can click on the image and
position it on the page. You should do that now to center the image.
If you don’t see the arrows, you will need to select the “Select
and Transform Object” tool, which is a black arrow at the top of
the tool bar on the left side of the screen.
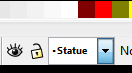
You can click on the eye that is next to
the layer pull down list you’ll toggle off/on the display of that
layer.
Now we are going to add the text for
the title and for the author.
With the Statue layer active, select
Layer >Add a Layer and create a new layer called “Title” above
the current layer.
Click on the “Create and Edit Text
Objects” from the left tool bar. It looks like a capital A. Now
draw a rectangle at the top of the page where you want the title to
appear by left clicking in one corner and dragging to the opposite
corner. When you let go of the mouse button, you can type your title
in the window. I typed “The Title”.
To change the font and size, click on
the font family icon on the right tool bar. It looks like a capital
T. Change the font size to 200 and select the center icon from the
layout area. Press apply to make the change, then close to get rid
of the window.
Repeat the same steps for the author’s
name.
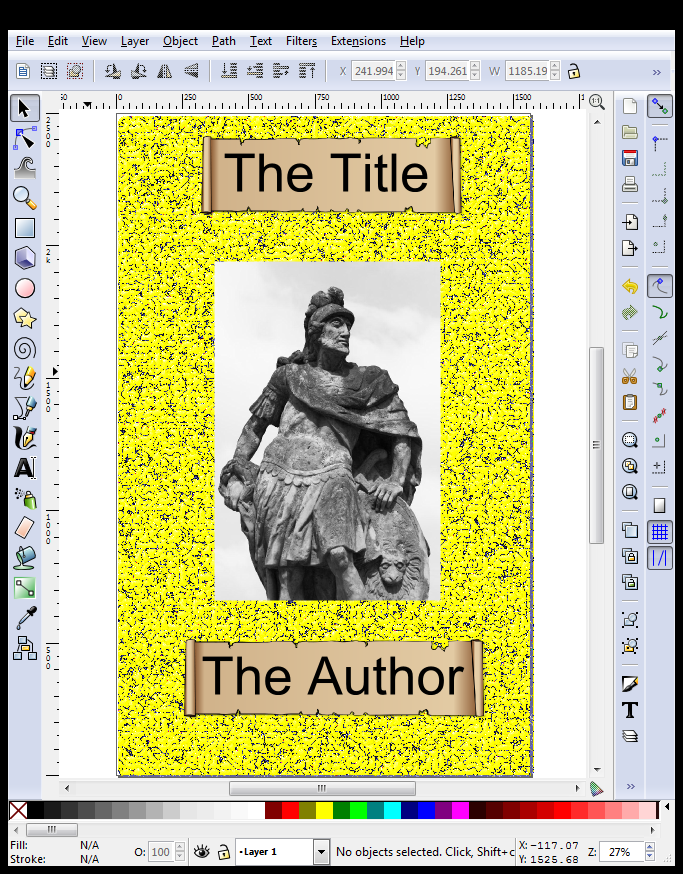
We can add a background effect now.
First, I created a new layer right
above Layer 1, and I called it Effects. Then I used the rectangle
tool to draw a box that filled the entire page. The rectangle tool
looks like a square on the left side tool bar. The rectangle will
fill with the current color. I selected the Yellow from the color
picker at the bottom of the screen.
With the yellow background in place, I
selected Filters > Materials > Cracked Lava. That created a
pattern across the background.

The lines in the background make the
text a little hard to read. To deal with that we’ll add a scroll
background behind the text.
We’ll handle the title first. Begin
by select the Title Layer in the layer pull down list, then select
Layer>Add A Layer. Set the Layer Name to “Title Scroll” and
set the position to “Below Current.”
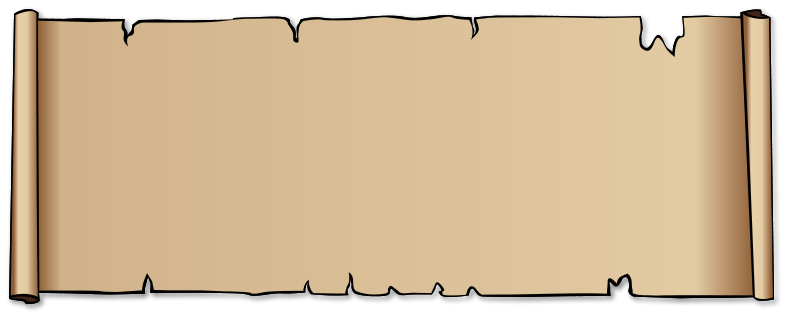
Now that we have a Title Scroll layer,
we can add the scroll image. Select File > Import then select
your image and embed it. You can download the scroll image above for this step.
Drag the scroll so that it is over the
title. If you got the layers in the right place, the scroll will
appear under the title, but above the effects layer.
To resize the scroll, just click and
drag on one of the arrows along the side.
Repeat the same steps for the Author.
When you are done, it should look something like the image below.
You will want to save your work.
Select File > Save. If it is the first time you are saving,
you’ll notice that it saves with an svg extension.
Amazon recommends that ebook covers be submitted as jpgs.
Inkscape doesn't seem to support this, but you can save as a png and convert it to a jpg later. To create the png, select file > export bitmap > Use the browse button to specify the
file name.
Credits
Statue Of A Roman Soldier by Vera Kratochvil
parchment-background-or-border by Gerald_G at openclipart.org
I love this thanks to you i was able to create my first Ebook cover last night. I was wondering if you have a tutorial on creating covers for paper back
ReplyDeleteHi Kay,
ReplyDeleteThat's awesome.
I've pretty much moved everything over to keithkeffer.com, which is where my most recent articles are. I have a brief write-up there about creating a book cover for CreateSpace. You can find it at http://keithkeffer.com/writing-tools/book-covers-createspace/
Good luck!
Keith
Thank you now I know how to make my ebook cover. Using internet cafe, using portable apps and only with USB flash
ReplyDeleteThank you for the enlightment
Good luck.
Delete